Spring基础教程(二)
编写第一个Spring小例子
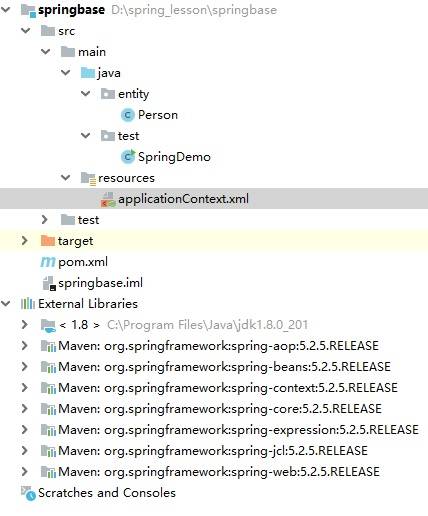
项目目录结构截图如下:
1.使用idea新建一个maven模块。
在pom.xml中导入以下依赖。
<?xml version="1.0" encoding="UTF-8"?>
<project xmlns="http://maven.apache.org/POM/4.0.0"
         xmlns:xsi="http://www.w3.org/2001/XMLSchema-instance"
         xsi:schemaLocation="http://maven.apache.org/POM/4.0.0 http://maven.apache.org/xsd/maven-4.0.0.xsd">
    <modelVersion>4.0.0</modelVersion>

    <groupId>com.simoniu</groupId>
    <artifactId>springbase</artifactId>
    <version>1.0-SNAPSHOT</version>

    <properties>
        <spring.version>5.2.5.RELEASE</spring.version>
    </properties>

    <dependencies>
        <!-- https://mvnrepository.com/artifact/org.springframework/spring-core -->
        <dependency>
            <groupId>org.springframework</groupId>
            <artifactId>spring-core</artifactId>
            <version>${spring.version}</version>
        </dependency>

        <!-- https://mvnrepository.com/artifact/org.springframework/spring-context -->
        <dependency>
            <groupId>org.springframework</groupId>
            <artifactId>spring-context</artifactId>
            <version>${spring.version}</version>
        </dependency>

        <!-- https://mvnrepository.com/artifact/org.springframework/spring-beans -->
        <dependency>
            <groupId>org.springframework</groupId>
            <artifactId>spring-beans</artifactId>
            <version>${spring.version}</version>
        </dependency>

        <!-- https://mvnrepository.com/artifact/org.springframework/spring-web -->
        <dependency>
            <groupId>org.springframework</groupId>
            <artifactId>spring-web</artifactId>
            <version>${spring.version}</version>
        </dependency>
    </dependencies>

</project>
2.编写Person实体类。 在entity包下创建Person实体类,如下:
package entity;

public class Person {

    private String name;
    private String gender;
    private int age;

    public Person() {
    }

    public Person(String name, String gender, int age) {
        this.name = name;
        this.gender = gender;
        this.age = age;
    }

    public String getName() {
        return name;
    }

    public void setName(String name) {
        this.name = name;
    }

    public String getGender() {
        return gender;
    }

    public void setGender(String gender) {
        this.gender = gender;
    }

    public int getAge() {
        return age;
    }

    public void setAge(int age) {
        this.age = age;
    }

    @Override
    public String toString() {
        return "Person{" +
                "name='" + name + '\'' +
                ", gender='" + gender + '\'' +
                ", age=" + age +
                '}';
    }
}
3.创建Spring配置类 在resource资源目录下,创建applicationContext.xml.
<?xml version="1.0" encoding="UTF-8"?>
<beans xmlns="http://www.springframework.org/schema/beans"
       xmlns:xsi="http://www.w3.org/2001/XMLSchema-instance"
       xsi:schemaLocation="http://www.springframework.org/schema/beans http://www.springframework.org/schema/beans/spring-beans.xsd">

    <bean id="p1" class="entity.Person">
        <property name="name" value="zhangsan"/>
        <property name="gender" value="男"/>
        <property name="age" value="18"/>
    </bean>
</beans>
4.编写测试类
在test包下创建SpringDemo类。代码如下:
package test;

import entity.Person;
import org.springframework.context.ApplicationContext;
import org.springframework.context.support.ClassPathXmlApplicationContext;

public class SpringDemo {

    public static void main(String[] args) {

        ApplicationContext context = new ClassPathXmlApplicationContext("applicationContext.xml");
        Person person = (Person) context.getBean("p1");
        System.out.println(person);
    }

}
5.运行测试类
