Vuex持久化
Vuex持久化
使用vuex-persistedstate插件实现vuex持久化。
1.vuex为什么要持久化
vuex是在中大型项目中必不可少的状态管理组件,刷新会重新更新状态,但是有时候我们并不希望如此。例如全局相关的,如登录状态、token、以及一些不常更新的状态等,我们更希望能够固化到本地,减少无用的接口访问,以及更佳的用户体验。常见的解决方案如下:
- 可以采用存储到localStorage的方式来解决这一问题。
- 也可以监听页面刷新的时候重新处理数据。
- 也可以用现在比较流行的插件vuex-persistedstate来解决(其实他的原理也是存储在了sessionStorage或者localStorage,但是不用我们手动去处理了)。
2.使用vuex-persistedstate插件来实现持久化
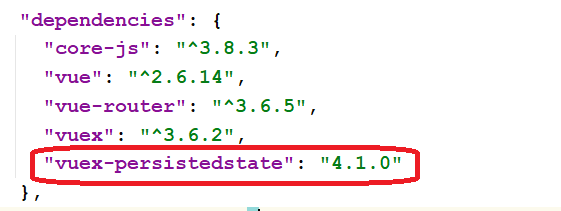
首先安装vuex-persistedstate插件。
npm install vuex-persistedstate --save
在store/store.js中使用插件。
import Vue from 'vue';
import Vuex from 'vuex';
import createPersistedState from 'vuex-persistedstate'

Vue.use(Vuex);

const store = new Vuex.Store({
    state: {
        counter: 100
    },
    getters: {
        //获取counter值
        getCounter(state) {
            return state.counter;
        }
    },
    mutations:{
        add(state){
            state.counter++;
        }
    },
    actions:{

    },
    modules:{

    },
    plugins: [
        // veux持久化配置
        createPersistedState({
            //可以持久化到sessionStorage或者localStorage中。
            storage: window.sessionStorage,
            //storage: window.localStorage,
            key: 'store',
            render(state){
                return {...state};
            }
        })
    ]

});
export default store;
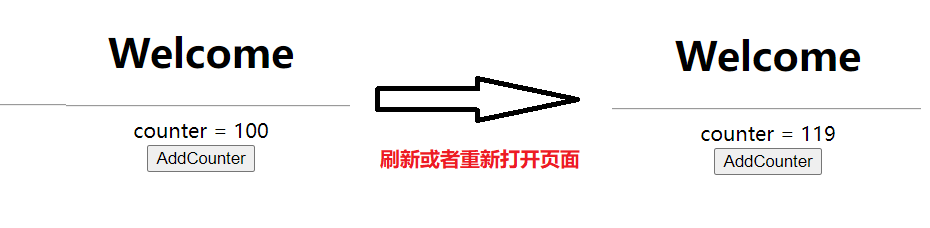
在视图组件测试持久化效果。
<template>
  <div>
    <h1 style="text-align: center">Welcome</h1>
    <hr>
    <div style="text-align: center">
      counter = {{$store.state.counter}}
    </div>
    <div style="text-align: center">
      <button @click="add">AddCounter</button>
    </div>
  </div>
</template>

<script>

import {mapMutations} from "vuex";

export default {
  name: "WelcomeView",

  data(){
    return{

    }
  },
  methods:{
    ...mapMutations(['add'])
  }
}
</script>

<style scoped>

</style>