CentOS7安装Hive-2.3.9
1.下载Hive
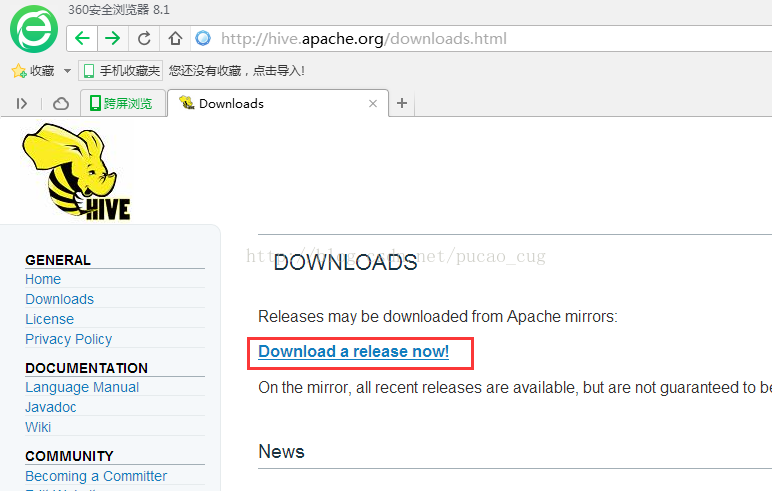
可以去apache的官网去下载hive.
http://hive.apache.org/downloads.html
也可以使用wget命令去清华大学镜像网站去下载:
https://mirrors.tuna.tsinghua.edu.cn/apache/hive/hive-2.3.9/apache-hive-2.3.9-bin.tar.gz
2.安装hive 2.3.9
hive3.1.3安装过程与hive 2.3.9完全一致,这里不再赘述。
#解压:
tar -zxvf apache-hive-2.3.9-bin.tar.gz -C /usr/local
#把解压后的文件移到目录/usr/local/下:
cd /usr/local
mv apache-hive-2.3.9-bin hive
#配置hive环境变量
vim /etc/profile
--------------------------------------------------
export HIVE_HOME=/usr/local/hive
export HIVE_CONF_DIR=$HIVE_HOME/conf
export PATH=$PATH:$HIVE_HOME/bin
-------------------------------------------------
#使配置文件的修改生效
source /etc/profile
3.配置hive-site.xml
#进入目录
cd $HIVE_CONF_DIR
#拷贝hive-default.xml.template并重命名为hive-site.xml
cp hive-default.xml.template  hive-site.xml
#编辑hive-site.xml
vim hive-site.xml
为在hive-site.xml中有这样的配置:
<name>hive.metastore.warehouse.dir</name>
<value>/user/hive/warehouse</value>
<name>hive.exec.scratchdir</name>
<value>/tmp/hive</value>
以要在Hadoop集群新建/user/hive/warehouse目录,执行以下命令:
#进入Hadoop主目录
cd $HADOOP_HOME
#创建目录
bin/hadoop fs -mkdir -p  /user/hive/warehouse
#新建的目录赋予读写权限
bin/hadoop fs -chmod -R 777 /user/hive/warehouse
#新建/tmp/hive/目录
bin/hadoop fs -mkdir -p /tmp/hive/
#目录赋予读写权限
bin/hadoop fs -chmod -R 777 /tmp/hive
#用以下命令检查目录是否创建成功
bin/hadoop fs -ls /user/hive
bin/hadoop fs -ls /tmp/hive
修改hive-site.xml中的临时目录:
将hive-site.xml文件中的${system:java.io.tmpdir}替换为hive的临时目录,例如我替换为/usr/local/hive/tmp/,该目录如果不存在则要自己手工创建,并且赋予读写权限。
cd $HIVE_HOME
mkdir tmp
chmod -R 777 tmp/
替换修改以下内容:
<property>
    <name>hive.downloaded.resources.dir</name>
    <!--
    <value>${system:java.io.tmpdir}/${hive.session.id}_resources</value>
    -->
    <value>/user/local/hive/tmp/${hive.session.id}_resources</value>
    <description>Temporary local directory for added resources in the remote file system.</description>
</property>
将配置文件中${system:user.name}都替换为root,查找并替换以下内容:
<property>
    <name>hive.server2.logging.operation.log.location</name>
    <value>/user/local/hive/tmp/root/operation_logs</value>
    <description>Top level directory where operation logs are stored if logging functionality is enabled</description>
</property>
修改hive-site.xml数据库相关的配置:
#######################数据库驱动配置#################################
<property>
    <name>javax.jdo.option.ConnectionDriverName</name>
    <value>com.mysql.cj.jdbc.Driver</value>
    <description>Driver class name for a JDBC metastore</description>
</property>
#######################数据库URL配置##################################
<property>
    <name>javax.jdo.option.ConnectionURL</name>
    <value>jdbc:mysql://192.168.2.177:3306/hive?createDatabaseIfNotExist=true</value>
</property>
#######################数据库用户名配置##################################
<property>
    <name>javax.jdo.option.ConnectionUserName</name>
    <value>root</value>
    <description>Username to use against metastore database</description>
</property>
#######################数据库密码配置##################################
<property>
    <name>javax.jdo.option.ConnectionPassword</name>
    <value>root</value>
    <description>password to use against metastore database</description>
</property>
将MySQL驱动包上载到Hive的lib目录下:
cp /root/download/mysql-connector-java-8.0.21.jar $HIVE_HOME/lib/
4.配置hive-env.sh
新建hive-env.sh文件并进行修改:
cd $HIVE_CONF_DIR
#基于模板创建hive-env.sh
cp hive-env.sh.template hive-env.sh
#编辑配置文件并加入以下配置:
vim hive-env.sh
-------------------------------------------------
export HADOOP_HOME=/usr/local/hadoop
export HIVE_CONF_DIR=/usr/local/hive/conf
export HIVE_AUX_JARS_PATH=/usr/local/hive/lib
5.启动和测试
#进入到hive的bin目录
cd $HIVE_HOME/bin
#对数据库进行初始化
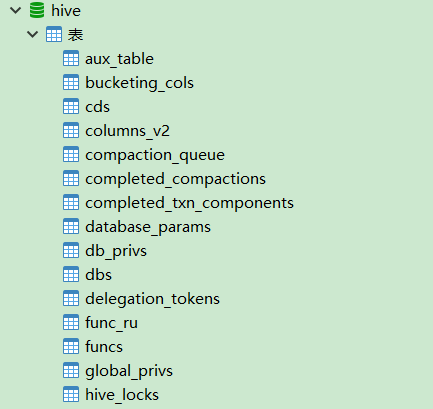
schematool -initSchema -dbType mysql
执行成功后,在mysql的hive数据库里已生成metadata数据表:
安装hive-3.1.3时,如果出现以下报错:
Exception in thread "main" java.lang.NoSuchMethodError: com.google.common.base.Preconditions.checkArgument(ZLjava/lang/String;Ljava/lang/Object;)V
是由于,同一类型的 jar 包有不同版本存在,系统无法决定使用哪一个。我们发现guava.jar在$HADOOP_HOME\share\hadoop\common\lib中存在,且版本较高。而该包在hive中存储的位置是$HIVE_HOME/lib
解决方案:删除hive中低版本的guava-19.0.jar包,将hadoop中的guava-27.0-jre.jar复制到hive的lib目录下即可。
启动hive
#进入Hive的bin目录
cd $HIVE_HOME/bin
#执行hive启动
./hive
测试Hive:
hive> show functions;
OK
!
!=
$sum0
%
&
*
+
...


hive>create database starbucks;
hive>use starbucks;
hive> create table sbux_nc_req
(
request_id bigint,
message_type_id int,
request_type int,
request_time string,
request_url string,
request_source int,
request_body string,
response_time string,
send_time string,
attachment_id int,
template_id bigint,
linked_template_id string,
linked_job_id bigint,
application_id int,
created_by string,
creation_date string,
last_updated_by string,
last_updated_date string
) row format delimited fields terminated by '\t\t\t';

hive> select * from sbux_nc_req;
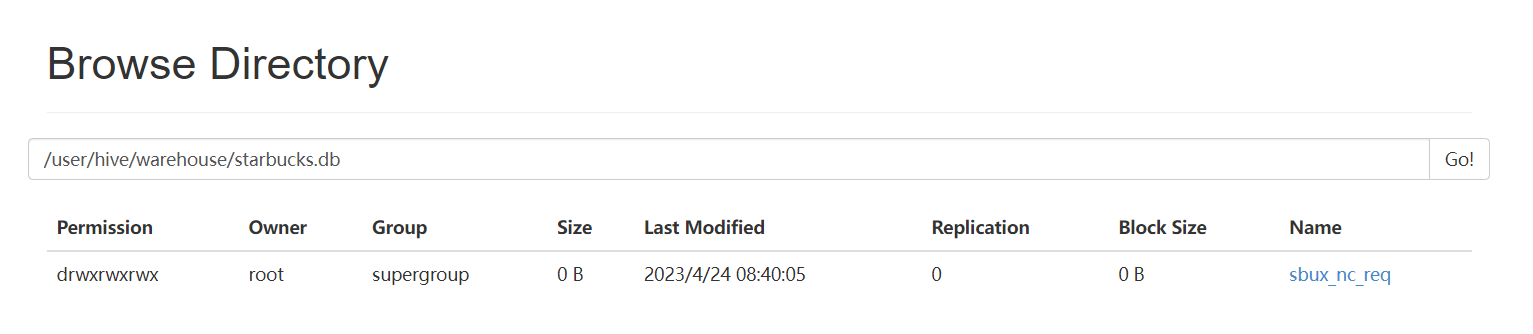
在Hadoop的HDFS页面上查看:
http://192.168.2.177:50070/explorer.html#/user/hive/warehouse/starbucks.db
6.Beeline远程连接
HiveServer2支持一个新的命令行Shell,称为:Beeline,后续将会使用Beeline替代Hive CLI。Beeline基于SQLLine CLI的JDBC客户端。Hive CLI和Beeline都属于命令行操作模式,主要区别是Hive CLI只能操作本地的Hive服务,而Beeline可以通过JDBC连接远程服务。
实现步骤:
1).修改 HADOOP_HOME/etc/hadoop/core-site.xml 添加访问权限.
<!--设置代理用户root访问的主机和组-->
<property>
   <name>hadoop.proxyuser.root.hosts</name>
   <value>*</value>
</property>
<property>
   <name>hadoop.proxyuser.root.groups</name>
   <value>*</value>
</property>
<property>
    <name>hadoop.proxyuser.root.users</name>
    <value>*</value>
</property>
2).重启hadoop集群,后台启动hiveserver2.
#启动hiveserver2

[root@hadoop-master sbin]# nohup hiveserver2 >>$HIVE_HOME/logs/hiveserver2.log 2>&1 &
[6] 7274
[root@hadoop-master sbin]# jps
5027 NameNode
5529 SecondaryNameNode
6121 NodeManager
5914 ResourceManager
7274 RunJar
5198 DataNode
7663 Jps
如果出现RunJar进程,说明hiveserver2启动成功!我也可以观察启动日志。
#创建日志目录
[root@hadoop0 hive]# mkdir $HIVE_HOME/logs

#查看日志
[root@hadoop0 hive]# tail -200f $HIVE_HOME/logs/hiveserver2.log
..
#如果出现这句话,说明hiveserver2启动成功。
2023-07-01 12:15:05: Starting HiveServer2
...
3).使用beeline命令,远程连接。
[root@hadoop-master hive]# cd bin
[root@hadoop-master bin]# ./beeline
SLF4J: Class path contains multiple SLF4J bindings.
SLF4J: Found binding in [jar:file:/usr/local/hive/lib/log4j-slf4j-impl-2.17.1.jar!/org/slf4j/impl/StaticLoggerBinder.class]
SLF4J: Found binding in [jar:file:/usr/local/hadoop3.1/share/hadoop/common/lib/slf4j-log4j12-1.7.25.jar!/org/slf4j/impl/StaticLoggerBinder.class]
SLF4J: See http://www.slf4j.org/codes.html#multiple_bindings for an explanation.
SLF4J: Actual binding is of type [org.apache.logging.slf4j.Log4jLoggerFactory]
Beeline version 3.1.3 by Apache Hive
beeline> !connect jdbc:hive2://hadoop-master:10000
Connecting to jdbc:hive2://hadoop-master:10000
Enter username for jdbc:hive2://hadoop-master:10000:
Enter password for jdbc:hive2://hadoop-master:10000:
Connected to: Apache Hive (version 3.1.3)
Driver: Hive JDBC (version 3.1.3)
Transaction isolation: TRANSACTION_REPEATABLE_READ
0: jdbc:hive2://hadoop-master:10000>

#查看数据库列表....
0: jdbc:hive2://hadoop-master:10000> show databases;
INFO  : Compiling command(queryId=root_20230701122116_813e902e-e40a-4906-801b-d95d03fa92e5): show databases
INFO  : Concurrency mode is disabled, not creating a lock manager
INFO  : Semantic Analysis Completed (retrial = false)
INFO  : Returning Hive schema: Schema(fieldSchemas:[FieldSchema(name:database_name, type:string, comment:from deserializer)], properties:null)
INFO  : Completed compiling command(queryId=root_20230701122116_813e902e-e40a-4906-801b-d95d03fa92e5); Time taken: 0.972 seconds
INFO  : Concurrency mode is disabled, not creating a lock manager
INFO  : Executing command(queryId=root_20230701122116_813e902e-e40a-4906-801b-d95d03fa92e5): show databases
INFO  : Starting task [Stage-0:DDL] in serial mode
INFO  : Completed executing command(queryId=root_20230701122116_813e902e-e40a-4906-801b-d95d03fa92e5); Time taken: 0.063 seconds
INFO  : OK
INFO  : Concurrency mode is disabled, not creating a lock manager
+----------------+
| database_name  |
+----------------+
| default        |
| myschool       |
+----------------+
2 rows selected (1.495 seconds)

#退出命令
0: jdbc:hive2://hadoop-master:10000> !quit
注意:使用beeline命令连接hive时,必须确保mysql和hiveserver2已经正确启动!
也可以在beeline后面添加-u参数,指定连接的URL。
[root@master bin]# ./beeline -u jdbc:hive2://hadoop-master:10000

#指定用户,这样在执行insert操作时不会出现权限问题。
[root@master bin]# ./beeline -u jdbc:hive2://hadoop-master:10000 -n root
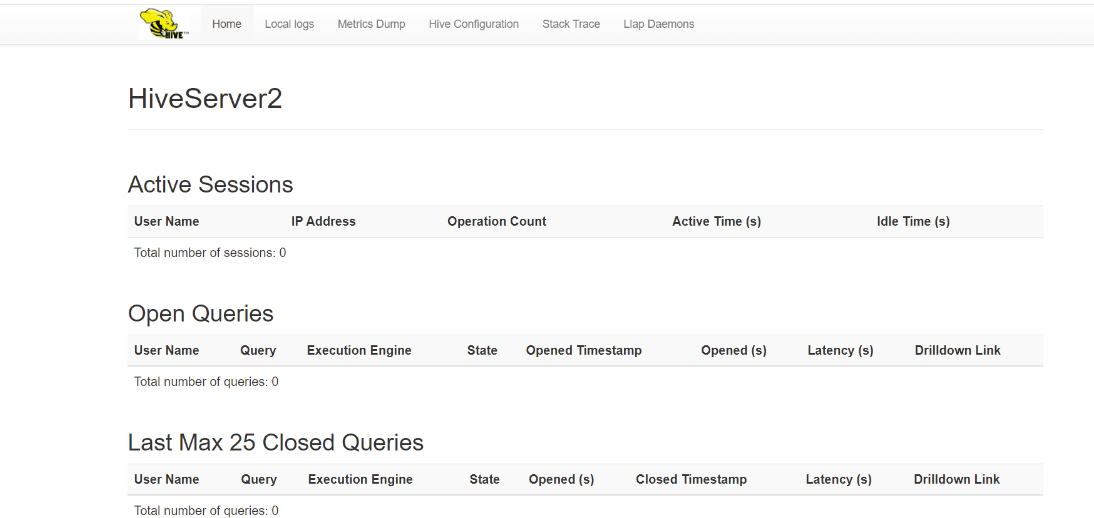
4).查看web端界面
服务端端口:10000,web端口10002,浏览器输入:http://hadoop-master:10002可以查看hiveserver2的信息: